Quick rundown of system essentials:
- Using Pulseaudio (on Pipewire). This is confirmed by running
pactl info.- Frontends like
pulsemixer(TUI) orpavucontrol(GUI) let me select input/output devices.
- Frontends like
- Using
redshiftas my red light filter. - Using
yazi(TUI) andnemo(GUI) as file manager. - Using
lydisplay manager. - Using
rofiapp menu. - Using
dunstfor notifications. The dunst daemon is started in my i3 config. - Using
picomas my compositor. The config is at~/.config/picom/picom.conf. Can make inactive windows transparent,lac for example. - Apps like
pavucontrol,nemo, etc. can use GTK themes. To use a GTK theme, install one (it ends up in/usr/share/themes), then in.config/gtk-3.0/settings.ini, setgtk-theme-nameas the name of the theme. - Using
autotilingto automatically alternate between splitting horizontally or vertically.- Only using this on odd numbered workspaces because I’m more likely to tab/stack windows in my central monitor (workspace 2).
- Using
greenclipclipboard manager which has great integration with rofi. - Using
Alacrittyas my main terminal emulator.- It allows for Vi-like keybindings which can be toggled into with
Ctrl+Shift+Space. - Alacritty Vi features.
- It allows for Vi-like keybindings which can be toggled into with
i3
My noteworthy keybindings are:
mod + g— Launch browser.mod + o— Launch note-taking app (Obsidian).- … TODO Add rest.
xborders
Using xborders which gives me true rounded corners (i3 has ugly rounded corners).
- The xborders script is located at
~/Scripts/xborders/.
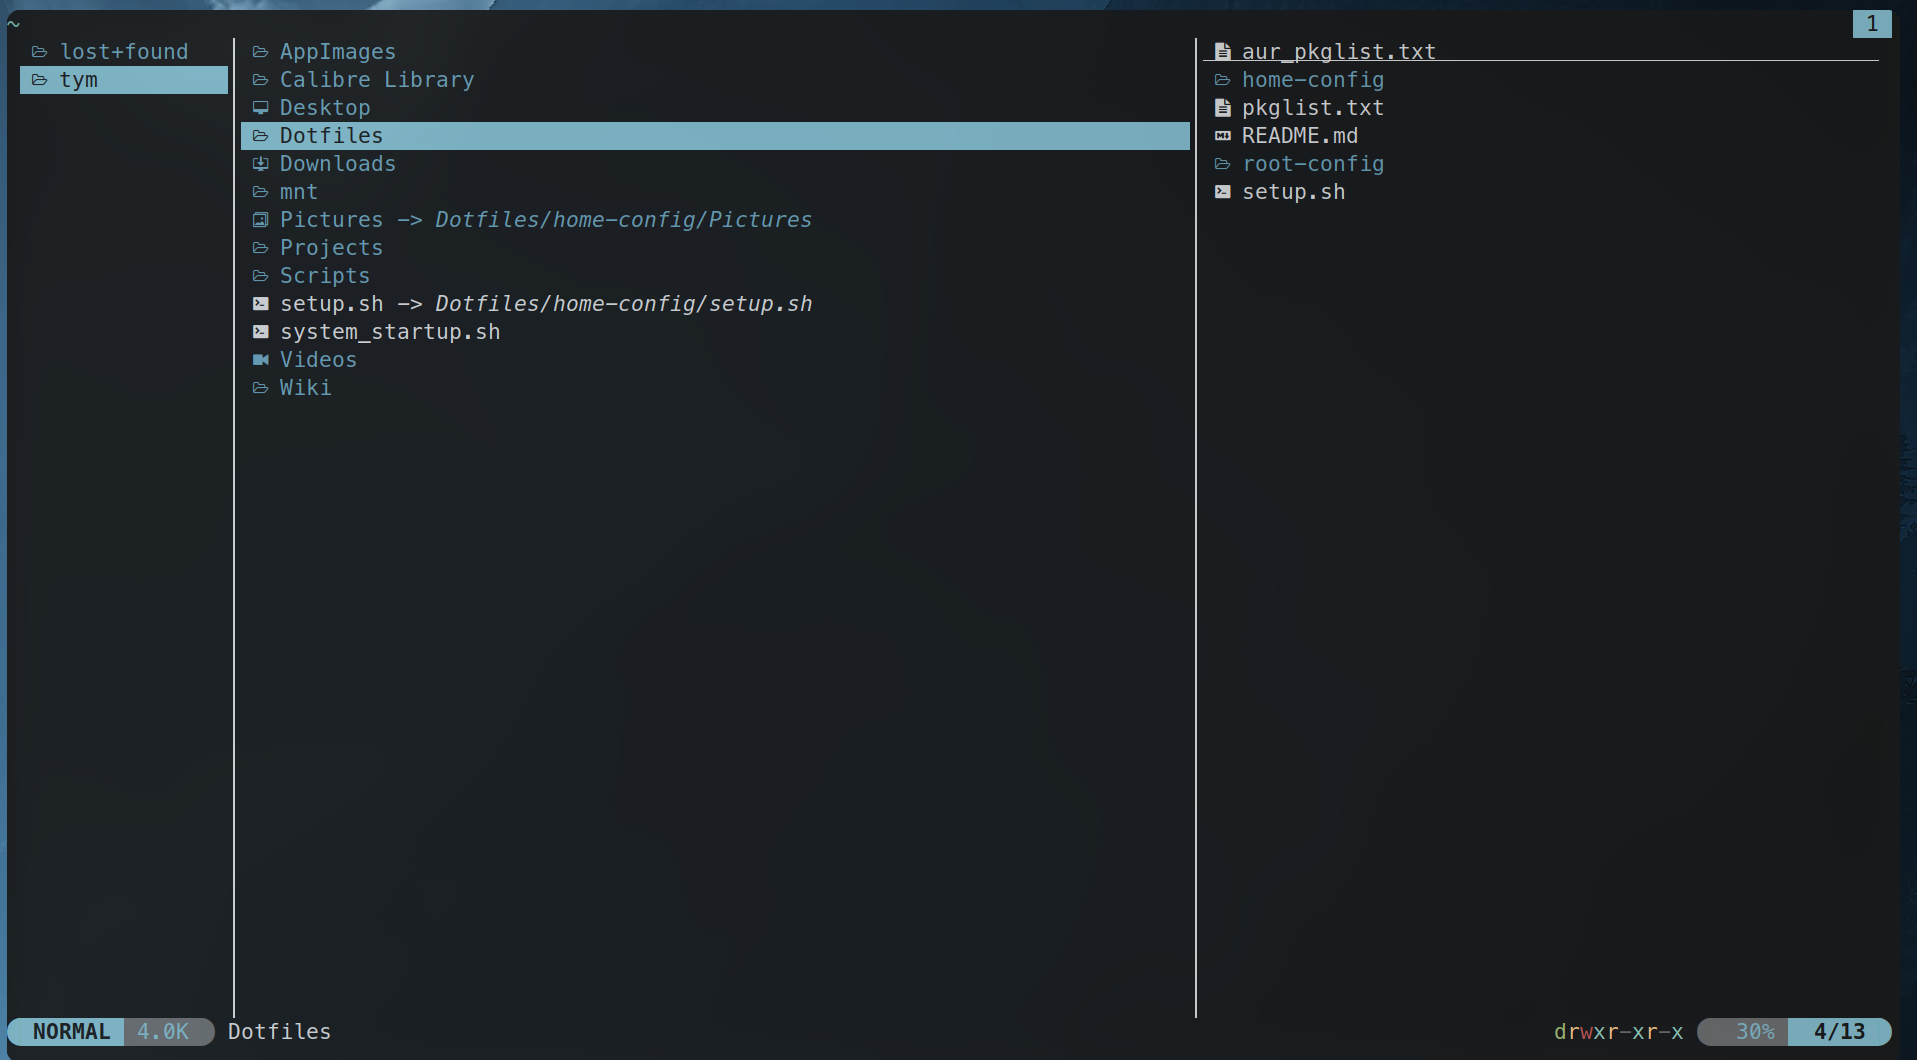
Yazi
Yazi is a TUI file manager that is very fast and customisable. See https://yazi-rs.github.io/docs/quick-start/#filedirectory-operations for quick start guide on all the default keybinds.
- Navigate using
hjkl.- Can also use other Vim-like keybinds, such as Ctrl+u to navigate half a up up.
;to run a Shell command in the current directory.- D to delete.
- X to cut.
- P to paste.
- … So many more.
- Enter to start a file editor on that file.
Setup notes:
- I’m using Alacritty. Image preview didn’t work out of the box, I needed to install the
ueberzugppAUR package, which also depends onlibquantimage.
Obsidian
I’m using rclone to mount Google Drive on my local filesystem.
-
Install rclone:
sudo -v ; curl https://rclone.org/install.sh | sudo bash -
rclone configNew remote > “GoogleDriveWiki” > Select Google Drive’s ID > Authorise Rclone to access your Google Drive.- Follow https://rclone.org/drive/#making-your-own-client-id to get a Google Drive client ID, which allows for better performance.
-
rclone mount GoogleDriveWiki:wiki ~/Wiki/. This mounts the pathwikion the filesystem path,~/Wiki/. -
You’d want to run the previous command automatically in the background on startup. I’m doing this by writing a service file,
.config/systemd/user/obsidian-rclone-mount.service, then enabling it to run in the background on startup by runningsystemctl --user start obsidqian-rclone-mount.service.
Notes on how to use rclone:
rclone configto run interactive config.rclone mount $REMOTE_NAME:$PATH_IN_REMOTE $PATH_IN_LOCAL_FSwill mount to a given path in your filesystem.
Installing Obsidian:
-
mkdir -p ~/AppImages -
Download latest AppImage from https://obsidian.md/download and move to
~/AppImages. -
Add a desktop entry fo Obsidian. I added one to .local/share/applications/Obsidian.desktop
TODO: Add GitHub Link here.
-
Symlink Obsidian to
/usr/local/bin/obsidian:sudo ln -s $HOME/AppImages/Obsidian.AppImage /usr/local/bin/obsidian.
Updating Obsidian is just a matter of downloading a new AppImage to replace the old one (and setting chmod +x on it)
VSCode
TODO.
yay -S visual-studio-code-bin.